

In the tutorial Using UbikLoadPack VideoStreaming Plugin with Docker we showed how to use UbikLoadPack Video Streaming Plugin to run a performance distributed test with Docker using Docker Compose. This time, we will show you how to use UbikLoadPack VideoStreaming Plugin docker image in a standalone test.
.
To do so, you just have to pull the docker image from docker hub before using it.
First step : Pull image from docker hub
To pull UbikLoadPack VideoStreaming Plugin image from docker hub you just have to execute:
docker pull ubikloadpack/ulp_videostreaming_plugin:latest
Second step : Configure required elements
We’ll be running our test in a folder called TEST_FOLDER, it can be any folder you want. We’ll use TEST_FOLDER everywhere below.
To use UbikLoadPack you just need to do the following:
- Request a trial license here
- You’ll receive a mail with attached license file named ubik-streaming-plugin.license. Put this file in the folder TEST_FOLDER
- Copy the user.properties file located in jmeter/bin folder and put it in the folder TEST_FOLDER after adding this property with the below path:
ULP.videostreaming.licensepath=/jmeter/ubik-streaming-plugin.license
- Copy your test plan to TEST_FOLDER
- Create folder TEST_FOLDER/logs
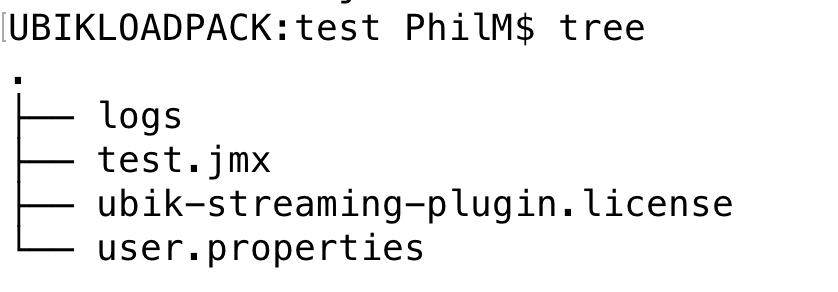
You end up with below structure:
Third step : Run the test
To run the test, we’ll use docker run and the UbikLoadPack docker image.
A minimal command line will be:
docker run --rm -d -v `pwd`:/jmeter:z ubikloadpack/ulp_videostreaming_plugin:latest -n -t test.jmx -l results/results.csv -e -o report/ -f -j logs/jmeter.log
The test will run and you’ll end up with:
- HTML report in report folder
- Results as CSV in results folder
- Logs of JMeter in logs (gc + jmeter.log)
Real world command line
The above command line is for a basic “hello world” test.
But when you need to run a real performance test you need to tune:
- Linux Limits
- TCP stack
- JVM memory
- …
So command line will likely more look like:
docker run --sysctl "net.ipv4.tcp_fin_timeout=15" --sysctl "net.ipv4.ip_local_port_range=1025 65000" --ulimit nofile=65000:65000 --rm -e "JVM_ARGS=-Xmx2g -Xms2g" -d -v `pwd`:/jmeter:z ubikloadpack/ulp_videostreaming_plugin:latest -n -t test.jmx -l results/results.csv -e -o report/ -f
TCP Stack tuning
We use sysctl option:
--sysctl "net.ipv4.tcp_fin_timeout=15" --sysctl "net.ipv4.ip_local_port_range=1025 65000"
Linux limits
We use ulimit option:
--ulimit nofile=65000:65000
Adjust JVM settings
We use an environment variable to adjust the Java heap of JMeter process:
-e "JVM_ARGS=-Xmx2g -Xms2g"
About UbikLoadPack :

- Ubik Load Pack is used by Big players in the Video streaming field
- We provide professional services for Load Testing
- Learn more about our streaming plugin
- Detailed features of UbikLoadPack Streaming Solution
- Get a Free trial
You’ll probably also like :
UbikLoadPack solution

![]()

Publication
![]()
